If you are preparing for a transition to the cloud using the Exchange Hybrid remote move migration approach, you will find a lot of good material out there on the Web including Microsoft articles. But once you go hands-on with the actual implementation, you may notice that some of it is not covered very clearly or just outright may behave differently. Here I will try to summarize the latest experience in migrating mailboxes to Office 365. This article will be mostly a high-level collection of important facts/points to consider and I hope it will really help some Migration Architects out there! Also, this article will be more suited for advanced IT Professionals who are already familiar with the process.
Staged / Cutover and Exchange Hybrid migration key differences:
- All of these are Pull-migrations initiated from Exchange Online
- Staged / Cutover is based upon RPC over HTTPS vs. Exchange Hybrid runs on EWS protocol. This defines performance as EWS is more robust and was designed for migrations rather than the former is more for client-side messaging communications
- Staged / Cutover leave mailbox behind upon completion while Exchange Hybrid is a true mailbox move leaving Mail-enabled user on-prem
- Staged / Cutover will need a new Outlook profile / new OST file re-download compared to Exchange Hybrid end-user simply restarting Outlook
- Only the Exchange Hybrid method can handle mailbox moves from Ex Online back to Ex On-prem
- Based on all the above facts, the Exchange Hybrid approach is more advanced and assumes that on-prem Exchange is turned into Exchange Hybrid mode, meaning on-prem and cloud messaging environments are configured to coexist with each other via execution of HCW (Hybrid Configuration Wizard). This creates and configures Send / Receive connectors, establishes cross-org calendaring collaboration, and more
High-level steps/notes on your path to an Exchange Hybrid migration (this is all a very “dense” list, pretty much every item deserves a blog of its own which I may consider doing later)
- Prepare Azure / Microsoft Entra ID environments
- Register for Azure / Microsoft Entra ID
- Review and get ready to procure proper licenses for all cloud products that users will be using
- Add / Verify your namespaces in Azure
- Setup Microsoft Entra ID Connect Sync tool
- Configure how UPN is generated for users to sign into Azure / Ex Online. Using MAIL is preferred and makes it easier
- Configure how users authenticate, for example, password sync or Federation / other
- Sync all your mail / mailbox-enabled AD objects into the cloud (User / Shared / Resource Mailboxes / DLs / Contacts / Mail-Enabled Users). If some are missed this may lead to errors during the migration process syncing mailbox rules/folder ACLs plus may also cause missed Emails.
- Prepare Exchange Environment
- Run HCW to set Exchange Hybrid Environment
- Enable “Hybrid Deployment” in Microsoft Entra ID Connect for it to sync additional attributes like mailbox delegates and more
- HCW is capable of doing Exchange org transfer (optional check-mark) which will copy the following from on-prem to Ex Online:
- Active Sync Device Access Rule
- Active Sync Mailbox Policy
- Active Sync Organization Settings
- Address List
- Dlp Policy
- Malware Filter Policy
- Mobile Device Mailbox Policy
- Organization Config
- OWA Mailbox Policy
- Policy Tip Config
- Remote Domains
- Retention Policy
- Retention Policy Tags
- Sharing Policy
- Smime Config
- Transport Config
- Note that HCW “Exchange org transfer” will not do hub transport rules. You will need to review all on-prem rules, analyze if some are also applicable to Ex Online scenario, take into account your current mail routing and re-create where applicable. Keep in mind that with “Centralized Transport” configuration not all hub transport rules need to be re-created in Exchange Online!
- Re-evaluate Email Address Policies as after migration on-prem mailbox turns into Mail-enabled User (Remote Mailbox) and some precisely scoped policies may stop applying, causing Default Policy to apply instead
- Align Max message size between Exchange on-prem and Ex Online checking Connectors / Transport configs / EWS protocol settings to ensure same-sized large messages are handled similarly. For example, most configs in Ex Online will have a 35 MB max message size
- Create Migration End-Point(s)
- Enable MRS Proxy on-prem for select (or all) Exchange servers
- Configure firewall to pass https traffic between Ex Online and Exchange servers where you have MRS Proxy enabled
- Create a DNS namespace to address this newly configured end-point
- Run the corresponding command-let in Exchange Online to create the migration endpoint
- Repeat previous steps per each major Data Center to be able to manage multiple migration end-points and as such optimize migration data flow during the mailbox moves. For example, you can run two migration batches concurrently moving 100 mailboxes from Exchange servers in the Data Center at Fort Worth, TX leveraging the tx.company.com namespace and another 100 from Livingston, NJ via nj.company.com which will be faster / more optimal than doing 200 using single end-point.
- Mail flow
- If Centralized Transport is enabled (part of HCW), all mail will be flowing through on-prem as its central focal point. Note that there are some exceptions to this rule like forwarding setup on mail recipient, emails between two Ex Online recipients and more.
- MX Records: Depending on how external/internal message delivery was set up, plan at which point to change delivery from on-prem to Exchange Online
- Remote Domain settings between on-prem and Exchange Online orgs need to be configured so that Internal / External OOO information is flowing as well as all messages are formatted properly. Especially check AllowedOOFType and TNEFEnabled, the latter is for voting buttons functionality
- Other important considerations like Journalling / Message Filtering / Proofpoint and more. All this needs to be very carefully reviewed with the Messaging Solutions Architect to plan for this transition
- Mailboxes prep
- Analyze on-prem mailboxes to ensure they will fit into Exchange Online per your licensing model. For example, E3/E5 will have a 100 Gb max size for regular mailboxes and 50 Gb for shared (unless a license is applied to increase it to 100 Gb)
- For any mailboxes that are too large for Ex Online, design a mailbox archiving approach with an on-prem Exchange archiving feature and begin gradually enabling it for those mailboxes
- Consider Online Archives as a head start as an on-prem mailbox can have an archive in the cloud. Note that extraction can take days/weeks, archiving is slow and designed not to put too much stress on the Exchange environment. On-prem archiving will happen noticeably faster.
- Review any mailboxes with Litigation / Legal Hold enabled. Disabling where possible can drop mailbox size by purging the dumpster
- Stamp @<YourTenant>.mail.onmicrosoft.com secondary SMTP addresses on your on-prem mailboxes by either adding it to the Email Policy or using the script. See this Microsoft article for details: Target mailbox doesn’t have an SMTP proxy matching in a mailbox migration – Exchange | Microsoft Learn
- Analyze mailboxes with forwarding enabled (altRecipient AD attribute populated). This setting does not transfer to the cloud which will affect various cross-object mailflow arrangements. It needs to be set manually or via script upon each migration wave!
- Distribution Groups
- Dynamic Distribution groups cannot be migrated/synced to Azure by Microsoft Entra ID Connect. Consider re-creating them, adding Contacts during on-prem to cloud GAL / Mail-flow coexistence where required
- Send As permissions set on DLs will need to be transferred manually via the script
- Public Folders (where applicable, this is a whole separate topic on how to approach PFs during Ex Online migration)
- Exchange Hybrid can be configured to access on-prem PFs which will allow on-prem and cloud users to share the same PF tree during migration
- Upon completion, PFs can be migrated to EX Online but ideally, consider moving it to a shared mailbox or SharePoint Online
- Mailbox Permissions Considerations
- Enable ACL-able object synchronization: Set-OrganizationConfig -ACLableSyncedObjectEnabled $True (read more in Microsoft documentation)
- In terms of permissions there are two aspects to consider:
- Carrying over mailbox permissions from on-prem to Ex Online. This works well for all permissions and for mailbox Auto-mapping unlike some articles may imply, such as mailbox folder level access set inside the mailbox (for example, Reviewer set on Inbox / Calendar, etc. to another user), Send On Behalf, Full Mailbox Access, Send As (Yes, even Send As unlike some articles suggest!!!). Handling Send-As in particular is part of the mailbox move itself while some other permissions are part of Microsoft Entra ID Connect sync logic. In other words, if users had access to another mailbox/mailboxes, they were able to Send Emails as another mailbox, and it was Auto-mapping for them, this all will continue to work after the mailbox was moved to Exchange Online
- Since permissions like Send As are only copied during mailbox move itself, it would be helpful to either group migration waves accordingly or pre-set permissions ahead of time via the script. Send as can be set on both mailbox or mail recipient like mail enabled user. This way migrated mailboxes will continue having Send As permissions to not yet migrated objects. Also don’t forget that DLs have Send As permissions as well and transferring them to Ex Online would be a must if those are in use on-prem!
- Managing coexistence between on-prem and online messaging environments. This is where it gets a little bit complicated
- All new permission assignments will work from on-prem to cloud mailboxes and back
- Send-As is not proactively synchronized and only one-time set during the mbx move but does work cross-prem. On prem-user / mailbox can Send As online mailbox and vice versa provided that Send-As permissions are assigned in both environments! So anytime it needs to be set for a new user-mailbox combination simply do it on-prem and in Exchange Online.
- Auto-mapping
- Cloud-mailbox Auto-mapping to the on-prem mailbox: simply assign Full Mailbox access on-prem with -AutoMapping $True as usual
- On-prem mailbox Auto-mapping to the cloud mailbox: unlike opposite scenario, assigning Full access permission will not work on-prem due to the user being not a true on-prem mailbox but rather a Remote Mailbox
- Full Access mbx permission assignment needs to happen in Ex Online but it will not populate msExchDelegateListLink on-prem where Autodiscover resolution for Auto-mapping feature happens
- Now copy DN from the on-prem mailbox and assign it to the Mail-enabled user (who has a cloud mailbox) under msExchDelegateListLink multi-valued AD attribute in the on-prem AD
- Autodiscover
- Analyze how Autodiscover resolution happens for on-prem users. It will be either SCP or Custom XML pushed to Outlook.
- All the latest Outlook versions have the logic of checking the Exchange Online end-point first and it will pick up the online mailbox immediately after the move.
- There might be some variations if the “Check Ex Online First” Autodiscover logic is suppressed in the registry via “ExcludeExplicitO365Endpoint”. It will still resolve the online mailbox but may go via a long loop and take longer. Setting “ExcludeHTTPSRootDomain” / “ExcludeHTTPSAutodiscoverDomain” will not affect on-prem mailboxes while helping to optimize Autodiscover resolution logic after the move
- How to troubleshoot: Unexpected Autodiscover behavior if settings under the \Autodiscover key – Outlook | Microsoft Learn
- Migration itself
- There is plenty of online material on how to do it using Ex Online GUI or New-MigrationBatch / Get-MailboxMove command-lets. I won’t be focusing much on it just mention that these two PS command-lets have some differences like using Arbitration Mailbox, status report upon completion, and more. GUI is built on top of New-MigrationBatch “under the covers”
New-MigrationBatch (ExchangePowerShell) | Microsoft Learn
New-MoveRequest (ExchangePowerShell) | Microsoft Learn - As noted earlier, balance mailboxes between different Migration-EndPoints / Data Centres where Exchange servers are deployed
- Make use of -CompleteAfter / -AllowIncrementalSyncs / -SuspendWhenReadyToComplete (read more on it) logic to manage when actual mailbox cutover happens
- For monitoring use Exchange Admin Center | Migration or here are some PowerShell ideas:
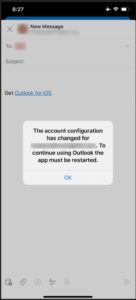
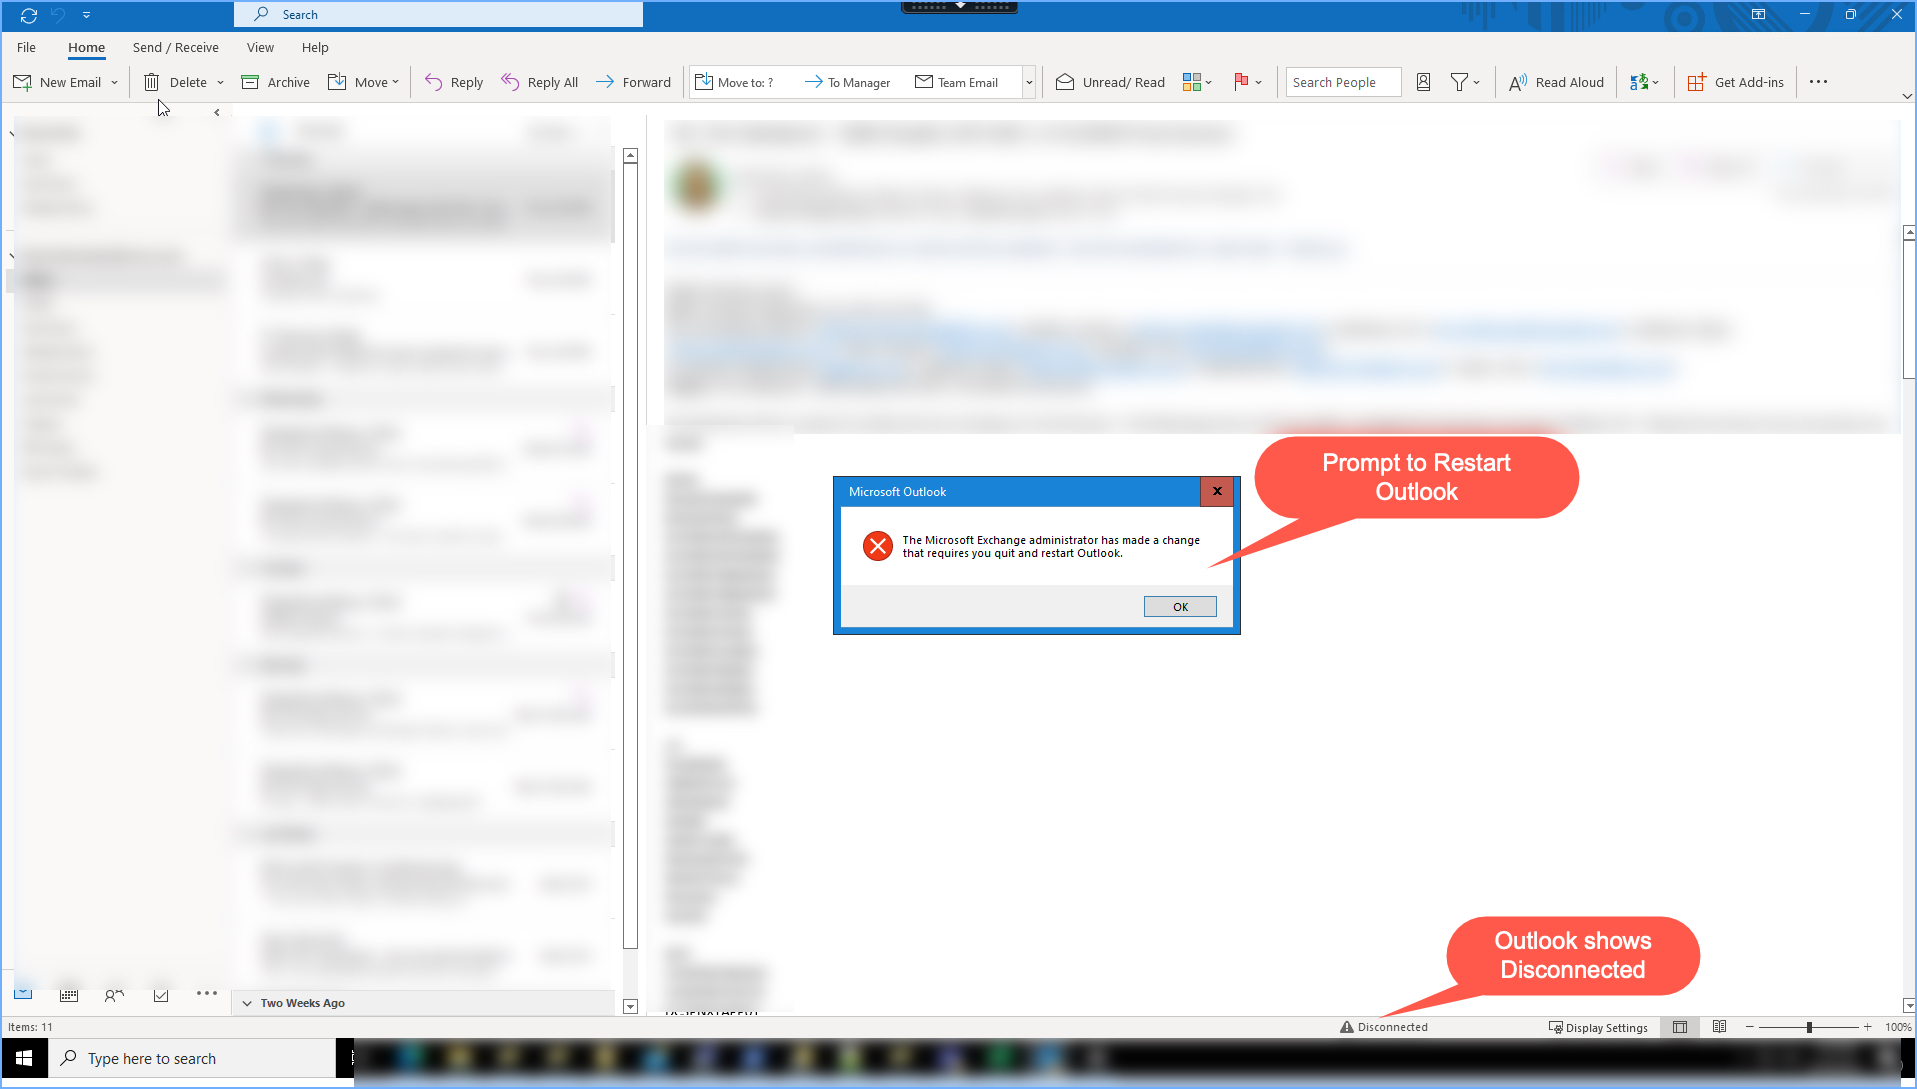
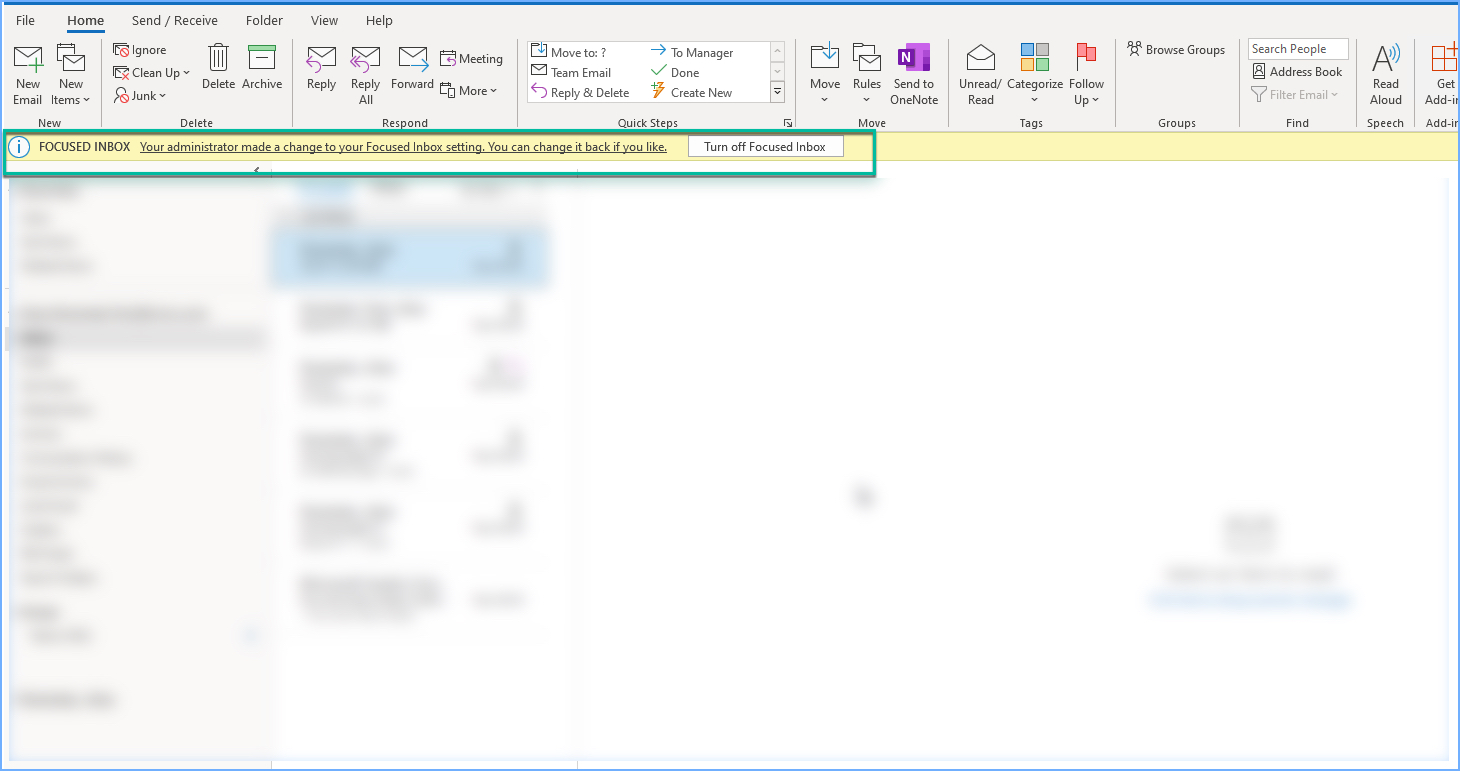
Get-MigrationUser -ResultSize Unlimited -BatchId “MigrationBatch01” | Get-MoveRequestStatistics | ft -AutoSizeGet-MigrationUser -BatchId “MigrationBatch01″ | Get-MigrationUserStatistics | ft Identity,@{Label=”TotalItems”;Expression={$_.TotalItemsInSourceMailboxCount}},@{Label=”SyncedItems”;Expression={$_.SyncedItemCount}},@{Label=”Completion”;Expression={ $_.SyncedItemCount / $_.TotalItemsInSourceMailboxCount}; FormatString=”P”} - From the end user’s viewpoint, only very few things can be noticed (see screenshots below)
- Outlook pop-up asking to restart Outlook when migration completes
- A message about Focused mailbox being enabled as it’s a new feature when transitioning from Exchange on-prem
- Watch for Retention and other mailbox policies applied properly in Exchange Online after the move. Some may not come over properly or stick to Default and will need some re-adjustment. This is easy enough with the use of PowerShell scripts like the one below:import-csv C:\Quest\Imports\PROD_ONOV01_WAVE1_DETAILS.csv | %{set-mailbox $($_.WindowsEmailAddress) -RetentionPolicy “$($_.RetentionPolicy)”}
- There is plenty of online material on how to do it using Ex Online GUI or New-MigrationBatch / Get-MailboxMove command-lets. I won’t be focusing much on it just mention that these two PS command-lets have some differences like using Arbitration Mailbox, status report upon completion, and more. GUI is built on top of New-MigrationBatch “under the covers”
I will wrap up my article at this point but please stay tuned and I’ll definitely expand on some of the topics that I shared above, especially the move itself…


